
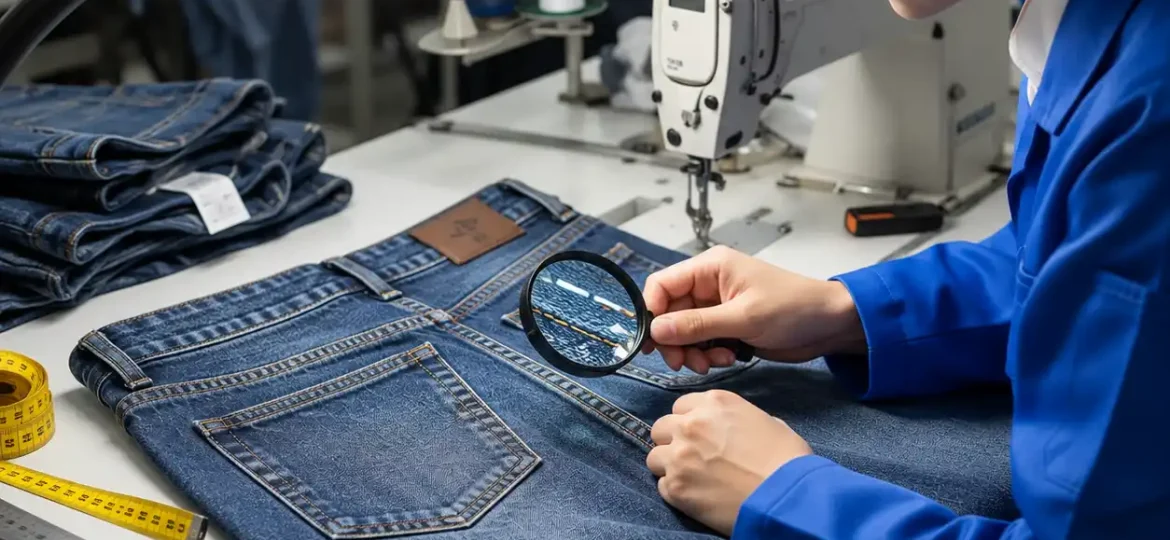
When a retail distribution center reports a high rate of garment returns or a corporate client files a formal quality claim, the consequences can extend far beyond the cost of replacing defective products. Recurring quality issues can disrupt delivery schedules, increase operational expenses, damage brand reputation, and weaken long-term relationships between apparel brands and manufacturing partners.
Common garment quality claims include seam slippage, broken stitches, color crocking, dimensional shrinkage, fabric defects, and inconsistent garment measurements. While these problems may appear straightforward, the underlying causes can originate at multiple stages of the apparel supply chain, from raw material selection and textile processing to pattern development, sewing, finishing, and final inspection.
The key to resolving a garment quality claim is to move beyond the visible defect and identify the process failure that caused it. A systematic investigation combines objective evidence, production traceability, root cause analysis, laboratory testing, and a documented Corrective and Preventive Action (CAPA) plan.
For apparel brands, sourcing teams, and garment manufacturers, this approach turns quality claims into opportunities to strengthen quality assurance and prevent recurring production failures.
1. Document the Garment Quality Defect
Every garment quality claim investigation should begin with accurate documentation. Before deciding who is responsible or what corrective measures are necessary, the quality team must establish what failed, how frequently it occurred, and under what conditions the defect appeared.
Quantify the Defect Rate and Scope
The first step is to determine whether the reported issue affects an isolated garment, a specific carton, a production batch, or an entire shipment.
Collect the following information:
- Total quantity of garments produced and inspected.
- Number of confirmed defective garments.
- Defect types and severity classifications.
- Affected purchase orders, production lots, and shipment references.
- Distribution of defects by size, color, style, and production batch.
- Customer return rates and complaint patterns, where available.
The defect rate can be calculated using the following formula:
Defect Rate (%) = (Number of Defective Garments ÷ Total Garments Inspected) × 100
For example, if 120 defective garments are identified in a sample of 2,000 garments, the observed defect rate is 6%.
When measuring the rate of individual defects, distinguish between defective garments and total defect occurrences. One garment may contain multiple defects, so the two figures are not necessarily equivalent.
For large production volumes, defects may also be expressed as parts per million (PPM):
Defect PPM = (Number of Defective Units ÷ Total Units Inspected) × 1,000,000
These measurements help determine the potential scale of the problem and support decisions about inventory containment, additional inspections, and customer communication.
However, a sample-based defect rate should not automatically be treated as the actual defect rate across the entire shipment. The sampling method, sample size, and representativeness of the inspected goods must also be considered.
Quarantine Defective Garments and Preserve Evidence
Once a potential quality issue is identified, affected inventory should be segregated to prevent unintended shipment or further distribution.
The quality team should request physical samples whenever possible, together with clear photographs showing the defect and its location on the garment.
Important evidence includes:
- Garment style numbers, color codes, and size labels.
- Purchase order and production batch numbers.
- Fabric roll numbers and dye lot references.
- Photographs of the overall garment and close-ups of the failure.
- Inspection records and customer complaint documentation.
- Retained production samples and approved reference samples.
Samples should be labeled, stored appropriately, and linked to the relevant production records. Where a dispute is likely, documenting sample collection, storage, and transfer can help preserve the integrity of the investigation.
It is also important to distinguish between confirmed defective inventory and goods that have not yet been evaluated. This prevents unnecessary disposal or rework before the investigation establishes the appropriate disposition.
Document Washing, Handling, and Usage Conditions
A garment may pass final inspection but fail after washing, dry cleaning, repeated wear, transportation, or storage. Understanding the conditions surrounding the failure is therefore essential.
For example, dimensional shrinkage may be associated with fabric relaxation, fiber composition, finishing conditions, or an unsuitable washing process. Color transfer may relate to dye fixation, fabric construction, surface fibers, or the conditions under which rubbing occurred.
Ask the complainant to provide details about:
- Washing temperature and detergent used.
- Washing and drying methods.
- Number of wash cycles before the defect appeared.
- Wear, abrasion, and handling conditions.
- Storage environment and transportation conditions.
- Whether the garment was altered or processed after delivery.
Compare these details with the care label, approved product specifications, and applicable testing requirements.
This evidence helps investigators distinguish manufacturing nonconformities from defects associated with downstream processing, handling, or use. Conclusions should be based on verified evidence rather than assumptions about customer behavior.
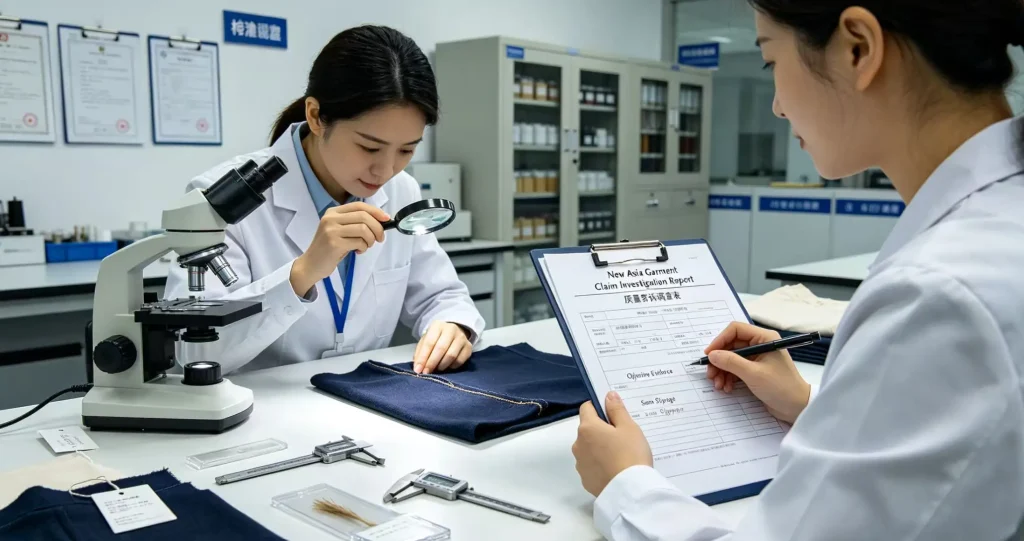
2. Trace the Defect Through the Apparel Supply Chain
After documenting the symptom, the investigation should move backward through the manufacturing process to identify where the failure may have originated.
Apparel production involves interconnected operations. A garment defect identified at the distribution center may have originated in fabric manufacturing, dyeing, finishing, cutting, sewing, pressing, or final quality inspection.
Effective traceability connects the finished garment to the materials, production processes, and inspection records associated with its manufacturing lot.
Review Pre-Shipment Inspection and AQL Records
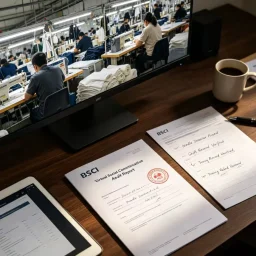
Pre-shipment inspection (PSI) records provide an important starting point for reviewing the original quality status of a shipment.
Relevant documents may include:
- Final garment inspection reports.
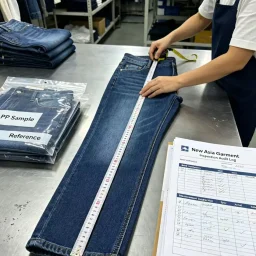
- Measurement and workmanship inspection sheets.
- Acceptable Quality Limit (AQL) sampling records.
- In-line and end-of-line inspection results.
- Fabric inspection reports.
- Approved sample comments and technical specifications.
- Records of previously identified defects and corrective actions.
Review whether the reported defect was included in the original inspection criteria and whether the inspection method was capable of detecting it.
For example, a routine visual inspection may identify an open seam but fail to reveal insufficient seam strength if no suitable strength test is performed. Similarly, a garment may meet dimensional specifications before washing but exceed permitted shrinkage limits after laundering.
AQL sampling also requires careful interpretation. An accepted inspection lot does not guarantee that every garment is defect-free. It indicates that the lot met the applicable acceptance criteria under the agreed sampling plan.
If the same defect appears repeatedly in customer complaints despite acceptable PSI results, the investigation should evaluate whether the original inspection scope, sampling approach, and test methods were adequate for the identified risk.
Trace Fabric Rolls, Dye Lots, and Raw Materials
Fabric-related defects can affect multiple garment styles or production batches, particularly when the same material lot is shared across several orders.
Traceability records should connect the finished garment to its fabric rolls, dye lots, finishing batches, and relevant material specifications.
Review the following:
- Fabric supplier and mill identification.
- Fabric roll numbers and inspection reports.
- Dyeing and finishing batch records.
- Fiber composition and yarn specifications.
- Approved laboratory test results.
- Fabric shrinkage, colorfastness, and dimensional stability reports.
- Material certificates and applicable compliance documentation.
Compare the affected material with approved bulk standards and pre-production samples.
For example, inconsistent shrinkage may indicate variation in fabric relaxation, heat-setting, compacting, or other finishing parameters. Color crocking may require investigation of dye selection, fixation, washing, surface characteristics, and finishing conditions.
The objective is not to assume that the textile mill caused the defect, but to establish whether the material met the agreed requirements and whether subsequent manufacturing processes introduced additional risks.
Review Cutting, Sewing, and Finishing Records
If the material meets the required specifications, the investigation should examine garment assembly and finishing operations.
Relevant production records include:
- Cutting plans and marker information.
- Pattern revisions and grading specifications.
- Sewing line assignments and operator training records.
- Machine settings, maintenance history, and needle records.
- Stitch density, thread specifications, and seam construction details.
- Pressing temperatures and finishing parameters.
- In-process inspection findings and rework records.
For seam slippage or seam failure, investigators should examine fabric construction, seam type, stitch density, thread selection, seam allowance, needle condition, machine tension, and sewing workmanship.
For dimensional issues, pattern measurements, cutting accuracy, pressing conditions, and fabric relaxation should be evaluated alongside the textile test results.
Reviewing production records across shifts and sewing lines can also reveal whether the issue is isolated to a specific operation or distributed throughout the production run.
This stage establishes a documented connection between the reported failure and the manufacturing processes that require further testing.
3. Conduct Root Cause Analysis for Garment Quality Issues
Identifying the visible defect is not the same as identifying its root cause.
A statement such as “the seam broke because the stitching was weak” describes the failure but does not explain why the stitching was weak or why the production control system failed to prevent it.
A reliable root cause analysis in apparel manufacturing combines structured problem-solving techniques with objective technical evidence.
Apply the Five Whys Method
The Five Whys method helps investigators move from an immediate failure toward the underlying process or system weakness by repeatedly asking why the problem occurred.
Consider a hypothetical seam failure investigation:
Problem: A garment seam splits during normal wear.
- Why did the seam split? The seam did not withstand the applied force.
- Why did the seam have insufficient strength? The seam construction and stitching parameters did not provide adequate performance for the fabric and intended use.
- Why were the parameters inadequate? The production setup followed an incorrect or incomplete technical specification.
- Why was the specification incorrect? A pattern or construction revision was not properly approved and communicated.
- Why was the revision not controlled? The product development process lacked an effective revision approval and change-control procedure.
This example illustrates how a physical failure may originate in document control rather than an individual sewing operation.
The actual root cause must still be verified. If testing shows that the seam construction meets the approved specification, investigators should examine other potential causes, such as fabric yarn slippage, unsuitable thread, or abnormal loading conditions.
The Five Whys method is most effective when supported by production records, interviews, testing, and direct process observation. It should not be used to force every investigation into a predetermined explanation.
Use a Fishbone Diagram to Identify Potential Causes
A fishbone diagram, also known as an Ishikawa diagram, organizes potential causes into categories. It is particularly useful when multiple manufacturing processes or suppliers may have contributed to a garment quality issue.
Five practical categories are:
Manpower: Operator training, workmanship consistency, unclear instructions, or insufficient technical knowledge.
Machine: Incorrect sewing machine settings, worn components, needle damage, tension variation, or inadequate maintenance.
Material: Fabric construction variation, unsuitable thread, inconsistent fiber composition, dyeing defects, or material properties that do not match the intended application.
Method: Incorrect assembly sequence, unsuitable seam construction, inadequate process controls, or unapproved technical changes.
Measurement: Incorrect inspection methods, poorly defined acceptance criteria, uncalibrated equipment, or unsuitable testing conditions.
Depending on the defect, investigators may also consider the production environment, measurement systems, supplier controls, and management processes.
The fishbone diagram should generate hypotheses, not determine the final conclusion. Each significant potential cause should be tested against the available evidence before corrective actions are selected.
Validate Root Causes Through Laboratory Testing
Laboratory testing is often necessary when visual inspection cannot establish the cause of a garment defect.
The test method should match the reported failure, the approved product specification, and the applicable customer or industry requirements.
Examples include:
| Reported quality issue | Potential investigation methods |
|---|---|
| Seam slippage or seam failure | Seam slippage testing, seam strength testing, stitch inspection |
| Color crocking | Dry and wet rubbing colorfastness tests |
| Dimensional shrinkage | Dimensional stability testing after the specified washing procedure |
| Fabric pilling | Pilling resistance testing |
| Fabric tearing | Tear strength testing |
| Garment measurement inconsistency | Dimensional measurement and pattern verification |
For example, a color crocking claim should be investigated using an appropriate rubbing colorfastness method under defined test conditions. A shrinkage claim should be evaluated using the specified washing and drying procedure, with measurements taken before and after testing.
Where possible, compare affected garments with retained samples, approved bulk fabric, and reference samples from unaffected production lots.
Document the test method, sample identification, conditioning requirements, test conditions, acceptance criteria, and results. Repeat testing may be appropriate when results are inconsistent or when the original sample may not represent the affected lot.
The purpose is to establish whether the defect can be reproduced and whether the evidence supports a specific failure mechanism.
4. Develop an Effective CAPA Plan
Once the root cause has been established, the next step is to develop a Corrective and Preventive Action (CAPA) plan.
A strong CAPA plan addresses both the immediate nonconformity and the underlying process weaknesses that allowed it to occur. It should define the actions required, responsible personnel, deadlines, verification methods, and criteria for successful closure.
Implement Corrective Actions to Contain the Defect
Corrective actions address an existing nonconformity and its immediate consequences.
Depending on the severity and scope of the claim, containment measures may include:
- Quarantining affected finished goods and work-in-progress.
- Suspending shipment of potentially affected inventory.
- Inspecting related production lots and fabric rolls.
- Sorting garments into conforming and nonconforming categories.
- Reworking garments where an approved repair is technically acceptable.
- Replacing defective materials or finished products.
- Providing replacement stock or another agreed customer remedy.
- Notifying relevant internal teams and supply chain partners.
For example, if a seam defect is confirmed in a particular production lot, the manufacturer may need to hold the remaining inventory, inspect related garments, and rework or replace affected units according to an approved disposition plan.
Containment reduces the risk of additional defective products reaching customers. However, sorting and replacement alone do not eliminate the underlying cause.
All rework should be documented, and repaired garments should be reinspected against the relevant quality requirements before release.
Establish Preventive Actions to Eliminate Recurrence
Preventive actions focus on strengthening the processes and controls that allowed the defect to occur.
Depending on the verified root cause, actions may include:
- Updating garment technical packs and construction specifications.
- Introducing mandatory approval for pattern and specification revisions.
- Revising seam construction or stitch density requirements.
- Adjusting dyeing, washing, or finishing parameters.
- Establishing additional in-line inspections or targeted laboratory tests.
- Improving sewing operator training and work instructions.
- Implementing machine maintenance and calibration controls.
- Strengthening raw material supplier qualification procedures.
- Updating inspection plans based on defect risk.
- Introducing formal change-control and document-management procedures.
Consider a hypothetical shrinkage claim caused by an inadequately controlled fabric finishing process. Replacing the affected fabric may resolve the immediate problem, but the longer-term action could involve defining finishing parameters, tightening dimensional stability requirements, and introducing verification testing before bulk fabric release.
Preventive actions should be proportional to the risk and supported by evidence. Adding inspections is useful when inspection can reliably detect the defect, but process improvement is generally more robust when the failure originates from an uncontrolled manufacturing parameter.
Assign Responsibilities, Deadlines, and Verification Criteria
Every CAPA action should have a clearly defined owner and a measurable completion requirement.
A practical CAPA record includes the following fields:
| CAPA element | Required information |
|---|---|
| Problem statement | Defect type, affected product, and production scope |
| Verified root cause | Evidence-supported explanation of the failure |
| Containment action | Immediate measures to control affected inventory |
| Corrective action | Measures addressing the confirmed nonconformity |
| Preventive action | Process or system changes intended to prevent recurrence |
| Responsible owner | Named role or department accountable for completion |
| Target date | Deadline for each action |
| Verification method | Audit, inspection, laboratory test, or record review |
| Effectiveness criteria | Measurable conditions for successful closure |
| Closure approval | Authorized quality representative or designated approver |
For example, the Head of Quality Assurance may own the CAPA process, while the production manager implements revised sewing procedures and the textile supplier adjusts finishing controls.
The quality team should verify not only that the actions were completed, but also that the changes were implemented correctly and are capable of controlling the identified failure.
5. Verify CAPA Effectiveness and Prevent Recurrence
A CAPA plan should not be closed simply because the corrective actions have been completed. Its effectiveness must be demonstrated through follow-up inspection, testing, and production performance data.
Verification confirms whether the original defect has been controlled and whether the revised process continues to meet the required quality standards.
Monitor Subsequent Production Lots
After implementation, the quality team should establish a verification plan based on the severity of the defect, production volume, process risk, and customer requirements.
For significant recurring issues, enhanced inspection of the next three consecutive production lots can be a useful starting point. However, three lots should not be treated as a universal rule or automatic proof of effectiveness. The appropriate monitoring period depends on the risk, defect frequency, and stability of the manufacturing process.
Verification may include:
- Increased sampling or targeted inspections.
- Laboratory testing of retained or newly produced samples.
- Comparison of defect rates before and after implementation.
- Review of customer complaints and return data.
- Audits of revised work instructions and production controls.
- Confirmation that responsible personnel follow the new procedures.
Effectiveness criteria should be defined before monitoring begins.
For example, a CAPA may require that subsequent lots meet the approved defect acceptance criteria, that a specified seam strength requirement is consistently achieved, or that dimensional shrinkage remains within the agreed tolerance.
A zero-defect result may be an appropriate target for certain critical defects, but a small sample with no observed failures does not establish that the underlying defect rate is zero. Sample size, testing coverage, and the sensitivity of the inspection method must be considered.
If the issue reappears, the CAPA should be reopened or escalated. Investigators may need to revisit the original root cause, assess whether the action was implemented effectively, or determine whether additional contributing factors were overlooked.
Update Technical Specifications and Quality Procedures
Lessons learned from a garment quality claim should be incorporated into the organization’s quality management system.
Relevant updates may include:
- Master technical packs and approved construction details.
- Fabric and trim specifications.
- Inspection checklists and testing requirements.
- Standard operating procedures.
- Supplier quality agreements.
- Operator training materials.
- Risk assessments and production control plans.
- Document revision and approval procedures.
For example, if a recurring seam issue is traced to inconsistent construction requirements, the approved technical pack should clearly define the relevant seam type, stitch density, thread specifications, and applicable performance requirements.
The revised information must also reach the teams responsible for product development, sourcing, textile processing, cutting, sewing, and quality inspection.
A technical document is only effective when the correct revision is accessible, understood, and followed at the production site.
Strengthen Collaboration Between Brands and Manufacturers
Garment quality claims often involve several organizations, including apparel brands, sourcing offices, textile mills, garment factories, testing laboratories, and logistics providers.
A transparent investigation process helps these partners work from the same evidence instead of relying on competing assumptions.
Effective collaboration includes:
- Sharing verified defect data and sample identification.
- Agreeing on test methods and acceptance criteria.
- Reviewing root cause findings jointly when responsibility is shared.
- Establishing clear action owners and implementation deadlines.
- Communicating containment measures and shipment decisions.
- Sharing CAPA results and lessons learned across relevant production teams.
The objective is to establish accountability without prematurely assigning blame.
When quality claims are handled through documented evidence and consistent follow-up, brands and manufacturers can improve product reliability while preserving long-term business relationships.
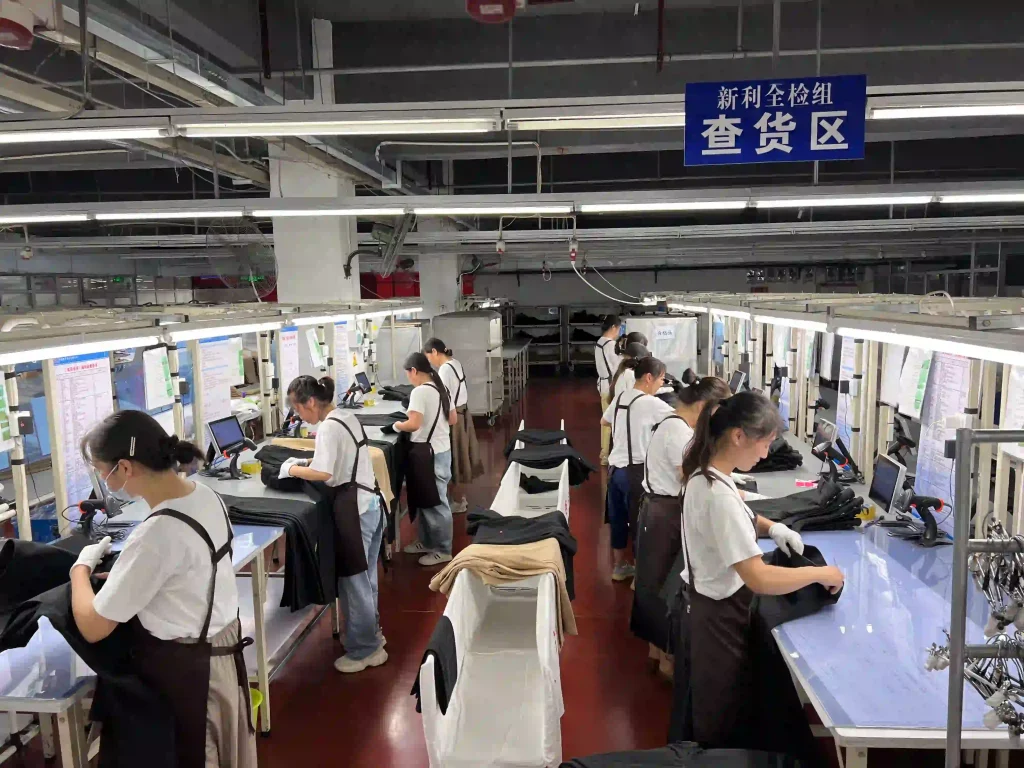
6. Common Mistakes to Avoid During a Garment Quality Claim Investigation
Even experienced apparel manufacturers can struggle to resolve quality claims when the investigation is rushed or the evidence is incomplete.
Avoiding the following mistakes can improve the reliability of the investigation and the effectiveness of the resulting CAPA plan.
Blaming Operators Before Reviewing Evidence
A sewing operator may be involved in a seam defect, but operator error should not be assumed without investigation.
The problem could originate from unclear technical specifications, unsuitable materials, incorrect machine settings, insufficient training, or ineffective process controls.
A fair investigation evaluates the entire production system before assigning responsibility.
Treating Rework as a Permanent Solution
Sorting, repairing, or replacing defective garments can contain an immediate problem, but these activities do not necessarily eliminate its cause.
If the same defect can recur in subsequent production, the investigation should identify and address the underlying process failure.
Closing a Claim Without Verifying Effectiveness
A completed action item does not automatically mean the problem has been solved.
Quality teams should verify that corrective and preventive actions work under actual production conditions, that relevant personnel follow revised procedures, and that subsequent results meet the predefined acceptance criteria.
Relying on Inspection Alone
Final inspection is an important quality control measure, but it cannot compensate for every weakness in material selection, product development, process engineering, or manufacturing control.
A stronger approach combines incoming material verification, in-process monitoring, appropriate laboratory testing, and risk-based final inspection.
The goal is to prevent defects at their source wherever practical, rather than relying exclusively on detecting them after production.
Conclusion: Turn Garment Quality Claims Into Continuous Improvement
A garment quality claim should be treated as a structured problem-solving process rather than an isolated customer complaint.
By documenting the defect, preserving evidence, tracing production records, conducting root cause analysis, and implementing a measurable CAPA plan, apparel brands and manufacturers can move beyond temporary fixes and reduce the risk of recurring failures.
Effective garment quality assurance depends on three essential principles: evidence-based investigation, accountable corrective and preventive action, and verified long-term effectiveness.
For apparel brands seeking reliable manufacturing partners, these capabilities are important indicators of a supplier’s commitment to quality, transparency, and continuous improvement.
New Asia Garment recognizes the importance of systematic quality management in apparel manufacturing. Through clear production specifications, structured quality checks, technical investigation, and collaboration with customers, manufacturing partners can work toward more consistent product quality and stronger long-term supply chain relationships.
If your brand is evaluating a garment quality issue or looking to strengthen quality control across bulk production, establishing a documented investigation and CAPA process is a practical step toward more reliable manufacturing outcomes.
Frequently Asked Questions
What is a garment quality claim investigation?
A garment quality claim investigation is a structured process used to determine why a garment failed to meet agreed specifications or performance requirements. It typically involves defect documentation, inventory containment, production traceability, root cause analysis, laboratory testing where appropriate, and corrective and preventive action.
What are the most common causes of garment quality defects?
Common causes include unsuitable raw materials, fabric processing variation, incorrect technical specifications, sewing machine setup issues, inconsistent workmanship, inadequate process controls, and ineffective inspection methods. The actual cause depends on the defect and must be established through evidence and appropriate testing.
What is the difference between corrective and preventive action?
Corrective action addresses an identified nonconformity and its immediate consequences. Preventive action introduces measures intended to eliminate the underlying cause or reduce the likelihood of recurrence. In practice, an effective CAPA plan combines containment, correction, systemic improvement, and verification.
How long does a garment quality investigation take?
The timeline depends on defect severity, sample availability, traceability records, laboratory testing requirements, and the number of suppliers or production processes involved. Straightforward workmanship issues may be investigated relatively quickly, while complex fabric performance or multi-supplier issues can require more extensive testing and coordination. A realistic investigation plan should define milestones and target dates.
How can apparel manufacturers prevent recurring quality claims?
Manufacturers can reduce recurring claims by maintaining accurate technical specifications, qualifying materials and suppliers, monitoring critical production parameters, conducting risk-based inspections, using appropriate laboratory tests, controlling document revisions, and verifying the effectiveness of corrective and preventive actions across subsequent production lots.
Read More
- How to Investigate a Garment Quality Claim: From Symptom to Root Cause and CAPA
- Garment Packaging Quality Control: Preventing Creases, Print Damage and Shape Distortion
- How to Validate Pocket Function and Placement Before Bulk Production
- How to Standardize Fabric Hand Feel Across Production Lots
- Movement Fit Testing for Apparel: How to Check Ride-Up, Slippage, and Range of Motion