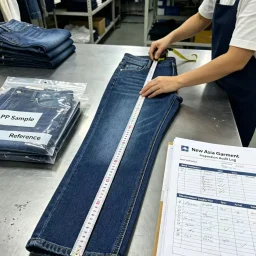

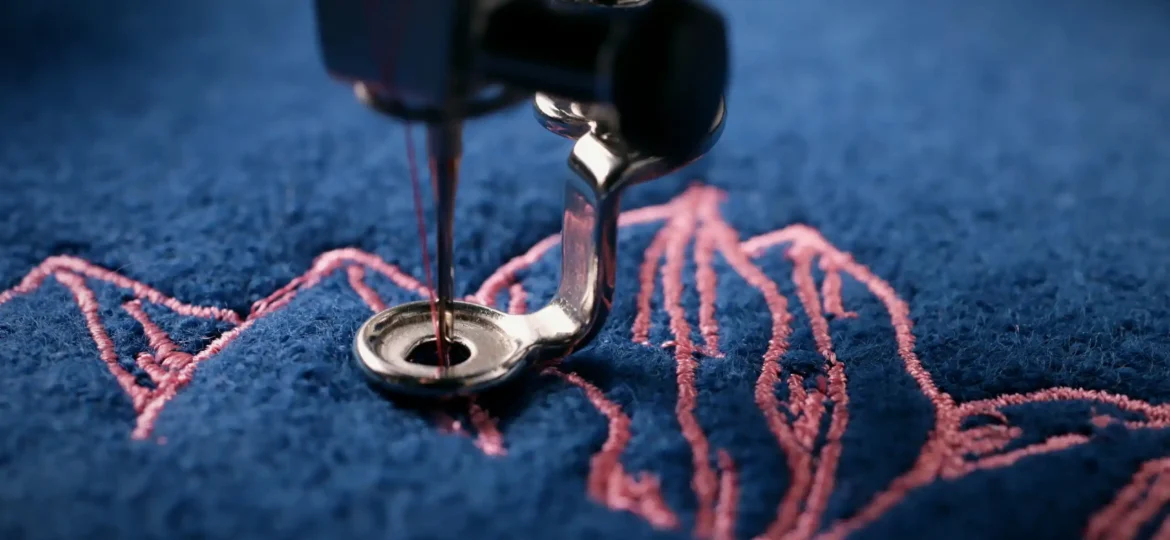
For apparel brands producing custom T-shirts, hoodies, sportswear, uniforms, and private-label collections, keeping print and embroidery quality consistent across a bulk order is not always straightforward.
A design may look perfect on screen, and the first sample may meet every expectation. But once production starts, things can change. Screen prints may crack or fade, DTF transfers may begin to peel, polyester fabrics can develop dye migration, and dense embroidery may pull the fabric out of shape.
These issues are not necessarily signs of poor workmanship. Fabric composition, dye chemistry, printing materials, heat exposure, machine settings, and even small changes in production conditions can affect the finished garment.
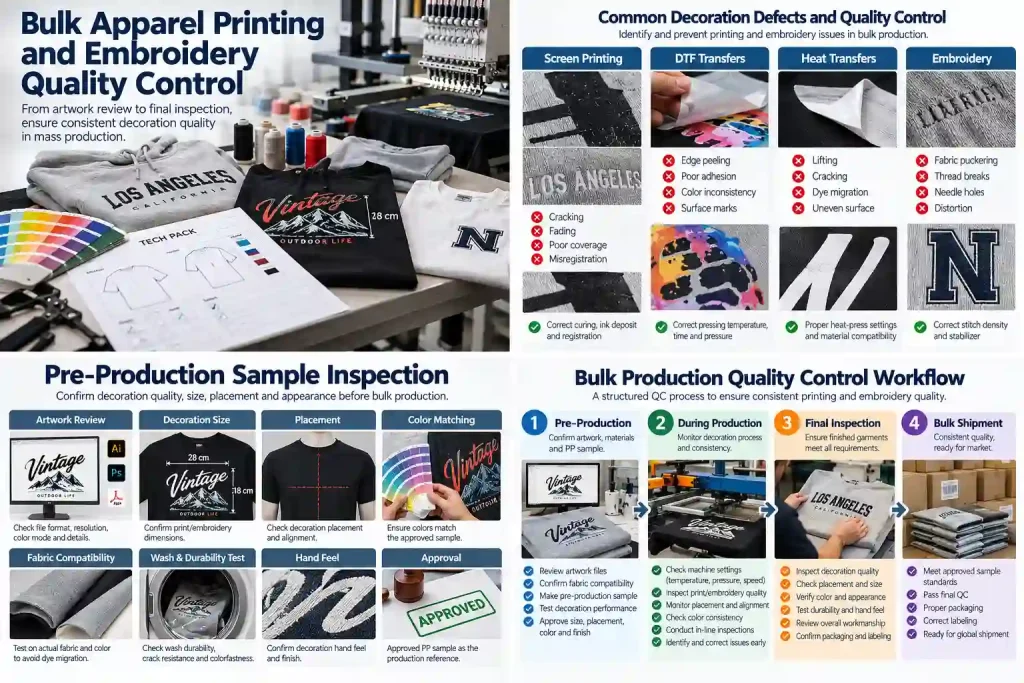
That is why bulk print and embroidery quality control needs to start before production, not just at final inspection. Artwork approval, fabric compatibility, decoration settings, sample testing, and production checks all play a part. This guide looks at the problems manufacturers commonly face and what buyers should check before approving a large order.
Why Quality Control Matters in Bulk Custom Apparel Production
There is a big difference between producing one approved sample and reproducing the same design across hundreds or thousands of garments.
A slight change in ink thickness or curing temperature may not be obvious on the first few pieces. Once the factory produces larger quantities, however, that same variation can affect an entire batch. The same applies to heat-press pressure, embroidery tension, and garment positioning.
Some of the problems that can occur during bulk decoration include:
- Screen-print cracking and fading
- DTF edge peeling
- Heat-transfer lifting
- Polyester dye migration
- Embroidery puckering
- Thread breaks and needle holes
- Incorrect decoration placement
- Multi-color registration errors
- Inconsistent print or thread colors
- Excessive embroidery stiffness
- Fabric distortion
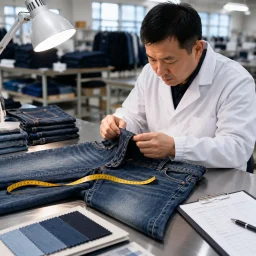
A pre-production (PP) sample gives both the buyer and manufacturer something physical to work from. It should represent the actual fabric, decoration color, dimensions, placement, stitch density, hand feel, and finish expected in the bulk order.
Once approved, the factory should keep the physical sample alongside the artwork and technical specifications. These records become the reference point for the apparel manufacturing process, particularly when production teams need to check whether finished garments still match the approved standard.during manufacturing and final inspection.
1. Prevent Screen-Print Cracking and Fading
Screen printing remains a popular choice for large apparel orders. It works well for many graphic T-shirts, hoodies, and promotional garments, but getting a consistent result depends on more than choosing the right ink.
Curing, ink thickness, fabric compatibility, and screen alignment all affect how the finished print looks and performs.
Control Screen-Print Curing Temperature and Dryer Speed
Curing is one of the first things to check when a screen print loses color, cracks, or fails a wash test.
Plastisol and water-based inks have different curing requirements. The correct temperature and dwell time depend on the ink system, so manufacturers should always follow the ink supplier’s technical instructions.
During production, the team should pay attention to:
- Actual ink-film temperature
- Dryer temperature
- Belt speed
- Dwell time
- Temperature consistency across the dryer
One common mistake is relying entirely on the temperature shown on the machine. That reading does not necessarily tell the operator how hot the ink film actually becomes.
If the ink does not cure properly, wash durability can suffer. Too much heat creates a different problem: it may damage sensitive fabrics or increase the risk of dye migration in certain polyester garments.
The aim is to find a curing condition that works for both the ink and the fabric, then keep it consistent throughout the order.
Maintain Consistent Ink Deposit
Ink thickness also has a noticeable effect on print quality.
Mesh count, stencil thickness, squeegee pressure, printing speed, and the number of print strokes all influence how much ink reaches the garment.
Too much ink can leave a stiff surface that cracks when the garment stretches. Too little may produce weak color density or uneven coverage.
There is no single ink deposit that suits every design. A large solid graphic, for example, may need a different setup from fine lettering or a detailed multi-color print. The manufacturer should adjust the settings to suit the artwork, fabric, and intended finish.
Conduct Wash-Durability Testing
A print that looks good immediately after production is not necessarily durable enough for everyday wear.
Before approving bulk production, check representative samples for:
- Cracking
- Peeling
- Color loss
- Print adhesion
- Surface changes
- Overall appearance
Where the buyer requires formal testing, applicable AATCC methods or other recognized textile testing procedures can help establish repeatable conditions.
The washing method and acceptance criteria should be agreed before testing begins. Otherwise, the buyer and manufacturer may judge the same result differently.
2. Control DTF and Heat-Transfer Edge Peeling
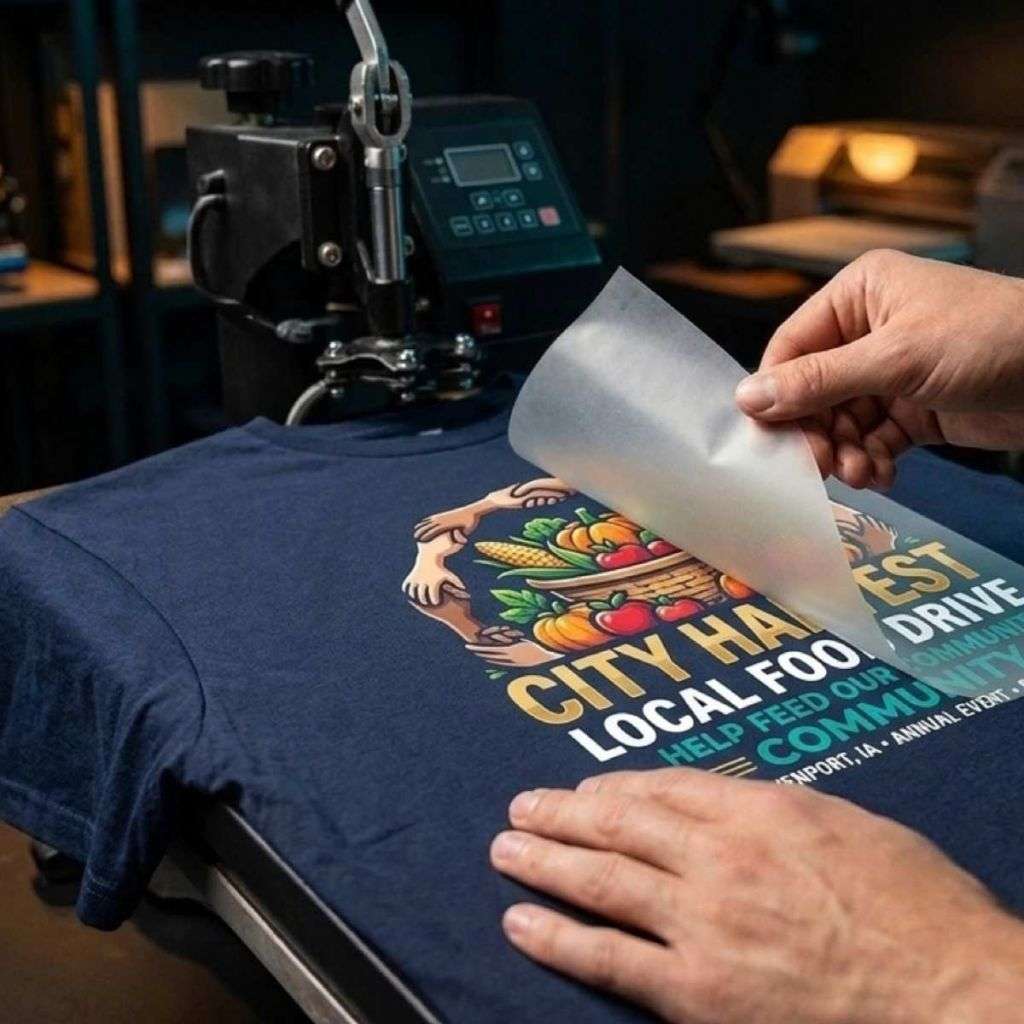
DTF and other heat-transfer methods make it possible to apply detailed, multi-color graphics to a wide range of garments.
They are useful for complex artwork, but the finished result depends heavily on adhesive coverage and heat-press conditions. A transfer that looks fine when it first leaves the production line may still develop lifting or peeling later.
Ensure Consistent Adhesive Powder Fusion
DTF transfers use thermoplastic adhesive powder to bond the printed design to the garment.
The powder needs to cover the printed area evenly and fuse according to the transfer supplier’s instructions. Pay particular attention to areas that are easy to overlook:
- Fine graphic details
- Corners
- Narrow edges
- Small lettering
- Large solid areas
These areas can behave differently during application. Insufficient powder coverage or incomplete fusion may leave weak bonding points, which can become visible after washing or repeated wear.
Calibrate Heat-Press Temperature, Pressure, and Time
Temperature, pressure, and dwell time work together. Changing one can affect the final bond, even when the other two settings remain the same.
The heat press should also be checked for temperature accuracy and reasonably even pressure across the platen.
If the temperature or pressure is too low, the adhesive may not bond properly. On the other hand, excessive heat can damage the fabric, distort the garment, or change the appearance of the transfer.
For bulk orders, it is worth checking the equipment rather than assuming that the displayed settings are accurate.
Follow the Correct Peeling Procedure
Not all transfers use the same peeling method.
Some carrier films are designed for hot peeling. Others need to cool before removal. Using the wrong method can affect the edges or the surface of the design.
Operators should follow the transfer manufacturer’s instructions and confirm the peeling method during sampling. A procedure that works for one transfer system should not automatically be used for another.
Test Transfer Adhesion Before Bulk Production
Before approving a large run, inspect samples for:
- Edge lifting
- Peeling
- Cracking
- Stretch resistance
- Wash durability
- Surface adhesion
The test conditions should reflect how the finished garment will actually be worn and washed. This is particularly important for sportswear and other stretch garments, where the transfer needs to move with the fabric.
3. Prevent Dye Migration on Polyester
Polyester dye migration deserves particular attention in custom apparel production, especially when manufacturers apply light-colored graphics to dark garments.
Polyester fabrics often use disperse dyes. Under suitable thermal conditions, these dyes can move from the fabric into a lighter-colored print or transfer layer. Once that happens, the original print color may change.
The problem is more likely to concern dark polyester garments, sublimated fabrics, performance sportswear, and other products where light decoration sits against a dyed polyester background.
Use Suitable Low-Bleed Ink Systems and Underbases
For light-colored graphics on polyester, manufacturers often use low-bleed ink systems and suitable underbases to reduce the risk of dye migration.
An underbase creates a barrier between the garment dye and the visible print layer. However, it should not be treated as a complete solution. Its performance depends on the fabric, dye, ink system, and curing conditions.
Before selecting the decoration system, check:
- Fabric composition
- Fabric color
- Dye type and dyeing process
- Printing method
- Curing requirements
- Expected garment use
The actual fabric should be tested with the intended ink or transfer system. A result from a different polyester fabric or colorway does not automatically prove that the new combination will work.
Control Heat Exposure During Curing
Heat is an important part of both ink curing and transfer bonding, but unnecessary heat exposure can increase the risk of dye migration in susceptible polyester fabrics.
Manufacturers should record and check the actual curing conditions, including ink-film temperature and dwell time, rather than relying only on the machine’s nominal setting.
The challenge is to achieve proper curing or bonding without exposing the garment to more heat than the process requires. Reducing the temperature without checking the ink or adhesive requirements is not a reliable fix, as it may create a separate durability problem.
Test Polyester Fabric Before Bulk Production
When working with polyester, testing before bulk cutting and decoration can prevent a small material issue from affecting a large order.
Pay particular attention to:
- Dark polyester garments
- Performance sportswear
- Sublimated fabrics
- Polyester blends
- Brightly dyed materials
- Light-colored prints on dark backgrounds
A representative production trial should use the actual fabric and intended decoration method. This gives the manufacturer a better idea of how the combination behaves before large quantities enter production.
Monitor Dye Migration During Production
Dye migration should not be checked only once.
Inspect the print after heat application and include further checks during the agreed quality-control process. A graphic may look acceptable straight after decoration, yet show discoloration after cooling, storage, or another round of heat exposure.
That is why immediate appearance and later color stability need to be considered separately.
Checking Delayed Dye Migration After Heat Application
An immediate visual inspection does not always reveal dye migration. On some polyester garments, the print may look correct straight after curing or heat pressing, then develop discoloration later.
The behavior depends on several factors, including dye chemistry, fabric construction, heat exposure, and how well the decoration system works with the fabric. In some cases, the change becomes easier to see after cooling or storage. Further heat exposure may also affect the result.
For buyers and manufacturers, the important point is that a print should not receive final approval based on its immediate appearance alone.
1. Allow Additional Observation After Heat Application
Inspect the decorated garment as soon as the curing or heat-press process finishes. Keep a representative specimen for further observation as well.
The observation period should reflect the actual material and production conditions. Consider:
- Polyester fabric composition and color
- Dyeing or sublimation process
- Printing or transfer system
- Heat application temperature
- Dwell time
- Number of heat applications
- Buyer requirements
There is no universal waiting period that works for every polyester fabric and decoration system. Buyers and manufacturers should agree on the observation intervals and final evaluation point before testing starts.
If the production process includes repeated heat applications, the test should reflect those conditions rather than stopping after the first press.
2. Prepare Suitable Control Samples
Control samples make it easier to work out where a color change comes from. Without them, it can be difficult to tell whether the problem is related to the fabric dye, heat exposure, or the decoration materials.
Where practical, retain four specimens from the same fabric lot and colorway:
| Sample | Treatment | Purpose |
|---|---|---|
| A: Unprocessed Fabric | No decoration or heat application | Shows the original fabric color |
| B: Heat-Exposed Fabric | Receives the agreed heat treatment without decoration | Helps identify color changes caused by heat alone |
| C: Decorated Specimen | Receives the actual print or transfer and production heat treatment | Shows the combined effect of fabric, decoration, and heat |
| D: Approved Reference | Previously approved production-intent sample | Provides a comparison standard |
Use matching fabric colors and lot references wherever possible. This matters because different dye lots may behave differently under the same conditions.
A separate heat-only sample may not be practical for every process. If that is the case, the buyer and manufacturer should record the alternative comparison method so that the test results remain clear.
3. Record Actual Heat-Application Conditions
A delayed dye migration check is only useful if the team can trace how the sample was processed.
The record should include:
- Fabric composition and color
- Fabric lot or dye lot
- Decoration method
- Ink or transfer system
- Underbase specification, where applicable
- Heat-press or curing equipment
- Actual temperature
- Dwell time
- Applied pressure, where relevant
- Number of heat applications
- Cooling procedure
- Storage conditions during observation
- Observation dates and results
For screen printing, record the curing profile and actual ink-film temperature where possible. For DTF and other transfers, use the heat-press settings specified by the transfer supplier.
It is also worth remembering that the temperature shown on a machine does not necessarily represent the temperature experienced by the decorated material. Where the process requires it, verify the actual conditions rather than treating the display reading as proof.
4. Compare the Print at Defined Observation Points
At each agreed observation point, compare the decorated specimen with the approved reference and control samples.
Look closely at:
- Unwanted color changes in light-colored prints
- Pink, grey, brown, or other discoloration
- Uneven color contamination
- Changes around print edges
- Differences between immediate and later appearance
- Variation across the decorated area
Use the same lighting and viewing conditions for each comparison. Otherwise, changes in the light itself may make a color difference look larger or smaller than it really is.
Photographs are useful for keeping a record, especially when several people need to review the result. Still, they should support the inspection rather than replace the physical specimens. Keep camera settings and lighting as consistent as possible.
5. Apply Buyer-Defined Acceptance Criteria
The final decision should come from the agreed buyer requirements and the actual test results.
The approval record should make clear whether the sample:
- Meets the agreed appearance requirement
- Shows discoloration that needs further review
- Fails the agreed acceptance criteria
If migration occurs, the buyer and manufacturer should look at the fabric dye, decoration system, underbase, and heat-treatment conditions before deciding what to change.
Possible actions include selecting a more suitable low-bleed ink system, adjusting the validated heat process, changing the decoration method, or choosing a more compatible fabric.
One point should not be overlooked: any adjustment still needs to achieve the required ink curing or transfer-bonding performance. Solving dye migration by creating an under-cured print or weak transfer is not an acceptable trade-off.
Bulk production should not be released simply because the print looked correct immediately after heat application. The decision needs to reflect the agreed observation conditions, control samples, and buyer acceptance criteria.
4. Prevent Embroidery Puckering
Embroidery gives custom garments a raised, textured finish, but it also places tension on the fabric. This becomes more noticeable when the design is large or uses a high stitch density.
Puckering happens when stitches pull or compress the surrounding fabric, leaving wrinkles or distortion around the embroidered area.
Select the Correct Backing and Stabilizer
Backing supports the fabric while the machine stitches the design. The right stabilizer helps control the pulling force and keeps the material from moving too much.
Common options include:
- Tear-away backing
- Cut-away backing
- Water-soluble stabilizers
- Specialty stabilizers
The choice depends on fabric weight, stretch, construction, stitch density, embroidery size, and garment structure. A stabilizer that works well on a stable woven jacket may not provide the same support on lightweight stretch fabric.
Maintain Proper Hoop Tension
The garment needs to stay secure during stitching, but it should not be stretched beyond its natural shape.
If the fabric is too loose, it may shift while the machine runs. If the operator stretches it too tightly, the fabric may contract after removal from the hoop and leave visible distortion.
The aim is to hold the material firmly without changing its original dimensions.
Optimize Stitch Density and Underlay
Stitch density is only one part of embroidery quality. Digitization settings also influence how the design sits on the fabric.
Important settings include:
- Stitch density
- Underlay
- Stitch direction
- Pull compensation
- Stitch sequencing
- Satin-stitch width
- Fill structure
Dense artwork should be adjusted to suit the actual garment rather than copied from a standard digitization profile. Stretch fabrics, in particular, often need a different approach from stable woven materials.
5. Prevent Thread Breaks and Needle Holes
Thread breaks and needle holes can interrupt production and leave visible damage on finished garments.
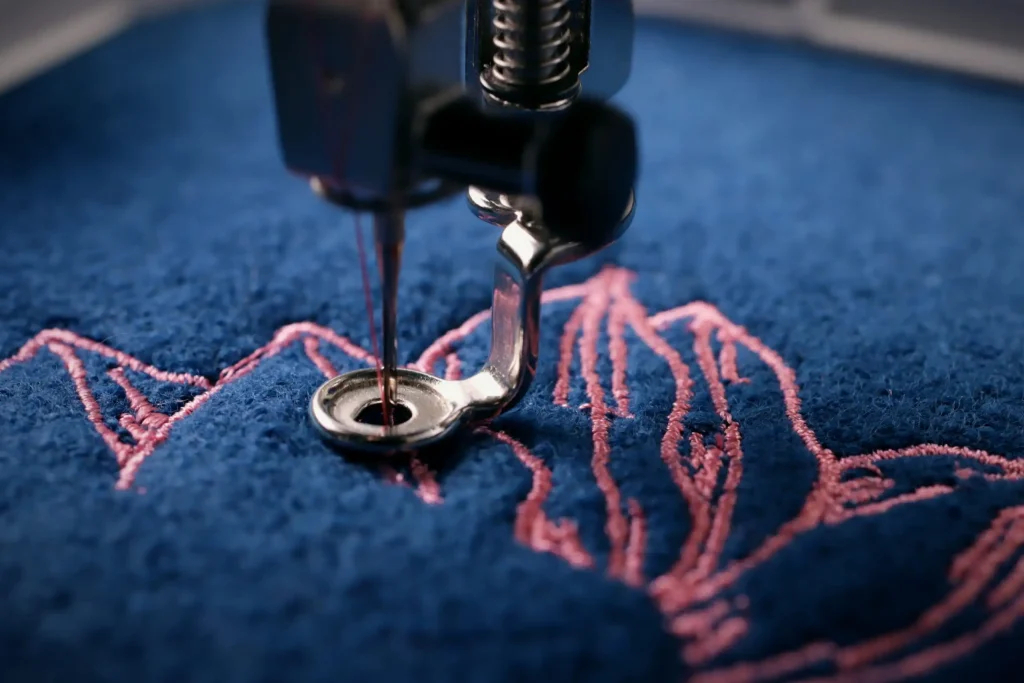
Industrial embroidery machines often run at high speeds during bulk orders. If the needle, thread, tension, or machine settings are not suitable, problems such as bird-nesting, loose stitches, and fabric damage can follow.
Choose Suitable Needles and Threads
Needle selection should match the fabric construction and thread.
Ballpoint needles are commonly used for knitted fabrics because their rounded points can move between yarns instead of cutting through them. Sharp-point needles, meanwhile, are generally suitable for many woven fabrics.
Needle size also matters. It should match the thread weight and material thickness.
When choosing embroidery thread, consider:
- Fabric type
- Design density
- Required appearance
- Colorfastness
- Machine speed
- End-use requirements
Balance Thread Tension and Maintain Equipment
Incorrect upper or bobbin tension can lead to thread breaks, loose stitches, bird-nesting, uneven stitching, or excessive bobbin visibility.
Set the tension during sampling and keep an eye on it throughout production. If the fabric or design changes, the settings may need another check.
Machine maintenance matters just as much. Regular checks should cover needle timing, hook timing, thread paths, tension systems, lubrication, and needle condition.
For dense or highly detailed designs, reducing machine speed may also help limit friction and thread breaks.
6. Maintain Multi-Color Registration and Decoration Placement
With multi-color printing, each layer needs to line up correctly. Embroidery also needs consistent placement from one garment to the next.
Small alignment errors may not stand out on a single sample, but they become much easier to notice when finished garments are placed side by side.
Control Screen-Printing Alignment
Screen-printing pallets need to stay correctly positioned throughout the run.
A consistent setup procedure and suitable registration system help operators align each screen. Before production moves beyond the setup stage, compare the result with the approved sample.
If the first pieces show registration problems, correct them before continuing with the full order.
Standardize Embroidery Placement
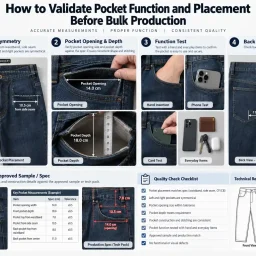
Embroidery placement should be measured from clear garment reference points, not judged by eye alone.
Common reference points include:
- Center front
- Collar seam
- Shoulder seam
- Pocket edge
- Side seam
- Armhole
The tech pack should show the placement measurements and explain how they change across garment sizes. Without clear grading rules, a logo may look correctly placed on one size but sit too high, low, or close to a seam on another.
Control Fabric Movement During Decoration
Stretch fabrics can shift during printing and embroidery, which affects both placement and design shape.
For screen printing, suitable pallet adhesives help keep the garment in position. For embroidery, the backing, hooping method, and machine settings all help stabilize the fabric.
The goal is to keep the design consistent without stretching or distorting the garment itself.
Check placement during setup, first-piece approval, early production, mid-production, and final inspection. Waiting until the end makes it harder to identify when the problem started.
7. Match Artwork With the Right Garment
A design cannot be judged separately from the fabric it will be printed or embroidered on.
Artwork that looks sharp on a smooth cotton T-shirt may lose detail on textured knit, fleece, or ribbed fabric. Performance polyester brings another concern: dye migration.
Before approving the artwork, technical teams should look at:
- Fiber composition
- GSM
- Fabric construction
- Stretch percentage
- Surface texture
- Garment color
- Garment structure
- Decoration dimensions and placement
Smooth cotton often provides a suitable surface for detailed screen printing. Textured fabrics can make fine details less clear, while stretch fabrics need decoration that can move with the material.
Embroidery also needs to suit the garment. A heavy design on lightweight fabric may cause sagging or distortion and affect the garment’s natural drape.
These are not just decoration issues. They influence how the finished product looks and feels when someone wears it. The printing or embroidery method should therefore be selected alongside the garment, not as a separate decision after the fabric has already been chosen.
8. Evaluate Large-Area Embroidery
Large embroidery can give jackets, hoodies, and streetwear garments a distinctive finish. However, a bigger design does not always mean a better result.
As stitch count and density increase, the embroidered area can become heavier and stiffer than the surrounding fabric. This may affect:
- Garment drape
- Flexibility
- Comfort
- Weight
- Overall hand feel
For some designs, full embroidery may not be the best option.
Appliqué or screen printing can provide a lighter base, with embroidery added to selected areas for texture and detail. This combination can reduce the amount of dense stitching while keeping the visual effect the buyer wants.
The right approach depends on the artwork, fabric, and intended use of the garment.
9. Bulk Print and Embroidery Quality Control Checklist
A checklist gives buyers and production teams a shared reference when checking finished decoration. It also makes it easier to spot missing information before an order moves to the next stage.
| Inspection Area | Key Checks |
|---|---|
| Artwork | Correct design, dimensions, and approved version |
| Fabric Compatibility | Composition, color, GSM, and surface |
| Print / Embroidery | Method, color, placement, and appearance |
| Curing | Actual temperature, dwell time, and process consistency |
| Heat Transfer | Temperature, pressure, time, and adhesion |
| Dye Migration | Immediate and delayed appearance |
| Embroidery | Stitch density, backing, tension, and puckering |
| Registration | Alignment and placement consistency |
| Durability | Washing, stretching, adhesion, and appearance |
| Documentation | Approved sample, test records, and production settings |
The exact tests depend on the garment and decoration method. Some orders may need wash testing, stretch testing, print adhesion checks, peel resistance, embroidery pull testing, dye migration assessment, or colorfastness evaluation.
There is no need to apply every test to every product. The testing plan should reflect the garment’s expected use, care conditions, materials, and buyer requirements.
How to Establish a Reliable Bulk Apparel Decoration QC Process
Quality control works better when it follows the production process. Final inspection can identify defective garments, but by then the factory may already have spent time and materials producing them.
A practical approach looks like this:
Step 1: Review Artwork and Garment Compatibility
Before sampling, check the print size, graphic detail, stitch count, fabric stretch, fabric weight, and decoration location.
This is also the stage to identify any possible issues with textured surfaces, lightweight fabrics, or polyester dye migration.
Step 2: Approve the Decoration Method and Parameters
Confirm whether the garment will use screen printing, DTF, heat transfer, embroidery, or a combination.
Then agree on the relevant technical details, including ink or thread selection, curing conditions, heat-press settings, and decoration placement.
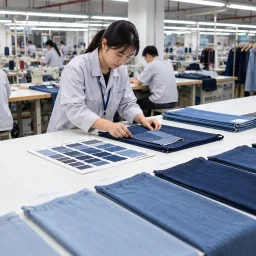
Step 3: Produce and Test PP Samples
Make representative samples using the process intended for bulk production.
Check the appearance, color, placement, durability, fabric interaction, and hand feel. For polyester garments with light-colored decoration, include the agreed delayed dye migration observation procedure.
A sample made with a different fabric or decoration process is not a reliable substitute for the actual production setup.
Step 4: Establish the Master Production Standard
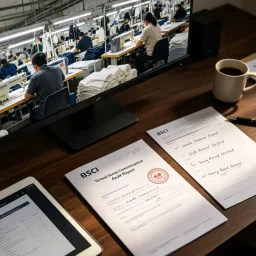
Once the PP sample is approved, keep the artwork, tech pack, color standards, decoration specifications, testing requirements, and physical sample together.
These records help production teams avoid relying on memory or informal instructions when the order moves into bulk manufacturing.
Step 5: Conduct Inline Quality Inspections
During production, check registration, placement, color, print quality, embroidery quality, fabric damage, and machine consistency.
If a defect appears, investigate it while the order is still running. This gives the factory a chance to correct the process before the same problem affects more garments.
Step 6: Perform Final Inspection Before Shipment
Compare finished garments with the approved production standard.
Separate defective pieces before packing and shipment, and make sure the inspection records reflect the actual results.
Frequently Asked Questions About Apparel Print and Embroidery Quality Control
Q1: What causes screen printing to crack after washing?
Screen printing may crack after washing if the ink has not cured properly, the ink layer is too thick, or the print system does not suit the fabric. Incorrect dryer temperature, belt speed, and curing time can also reduce wash durability.
Q2: How can DTF transfers be prevented from peeling?
Start with even adhesive powder coverage and make sure the powder fuses correctly. Temperature, pressure, and dwell time also need to remain consistent during heat pressing. The operator should follow the transfer supplier’s hot-peel or cold-peel instructions rather than using the same method for every material.
Q3: What causes embroidery puckering?
Puckering often comes from insufficient fabric support, incorrect hoop tension, excessive stitch density, or unsuitable digitization. The backing, hooping method, underlay, and pull compensation should all suit the fabric and design.
Q4: How do you prevent dye migration on polyester?
Use a suitable low-bleed ink system, control heat exposure, and test the actual polyester fabric before bulk decoration. Dark polyester garments and sublimated fabrics deserve particular attention, especially when the design uses light-colored ink or transfers.
Q5: Can dye migration appear after heat application?
Yes. A print may look fine immediately after curing or heat pressing but develop discoloration during cooling, storage, or further heat exposure. The observation period and acceptance criteria should be agreed according to the fabric, dye system, decoration process, and buyer requirements.
Q6: What should be checked before bulk apparel decoration?
Check fabric compatibility, artwork, decoration method, print or embroidery dimensions, placement, color standards, curing or heat-press settings, durability, and the approved PP sample. If the garment uses polyester with a higher migration risk, review the delayed dye migration results as well.
Q7: How can brands maintain consistent decoration quality across garment sizes?
Use measurable placement points instead of relying on visual positioning. The tech pack should include placement measurements and grading rules for different sizes. Standardized templates also help production teams reproduce the same position across the size range.
Q8: What is a PP sample in apparel manufacturing?
A PP, or pre-production, sample is a production-intent garment approved by the buyer before bulk manufacturing. It should represent the intended fabric, construction, color, decoration, placement, and finish. The factory then uses it as a physical reference during production and quality checks.
Conclusion
Print and embroidery problems are easier to manage when manufacturers consider the fabric, decoration method, and production conditions together.
Screen printing depends on the right ink deposit, curing conditions, registration, and wash durability. DTF and heat transfers need proper adhesive fusion and controlled heat-press settings. Polyester brings the added risk of dye migration, while embroidery requires suitable stabilization, hooping, digitization, needles, and thread tension.
One point that deserves extra attention is delayed dye migration. A print that looks correct straight after heat application may not stay that way. For susceptible polyester fabrics, manufacturers need agreed observation periods, suitable control samples, recorded heat conditions, and clear buyer acceptance criteria before releasing bulk production.
The process is straightforward in principle:
Artwork → Fabric Compatibility → Decoration Method → PP Sample → Testing → Production Control → Final Inspection
Each stage gives the next one a clearer standard to follow. Skipping early checks often means dealing with defects when more garments have already been produced.
For brands developing custom apparel at scale, New Asia Garment supports garment development, fabric selection, custom printing, embroidery, sampling, and bulk apparel production. Buyers can discuss their materials, decoration methods, quality requirements, and testing needs with the team according to their project specifications.
Read more
- Knitwear Manufacturer: Custom Sweaters, Cardigans & Cable Knit
- Garment-Dyed vs Piece-Dyed Hoodies: MOQ, Shrinkage and Color Approval Trade-Offs
- Moving Apparel Production to a New Factory: A Handover and Validation Checklist
- How to Compare Clothing Manufacturer Quotes: A Cost Checklist for Apparel Brands
- How to Build Durability Tests Around High-Stress Garment Areas